This morning, on the first day of spring, I took a walk through my garden, considering how to celebrate the occasion. One look at the planting bed I prepared yesterday gave me the answer: spring starts with the soil.
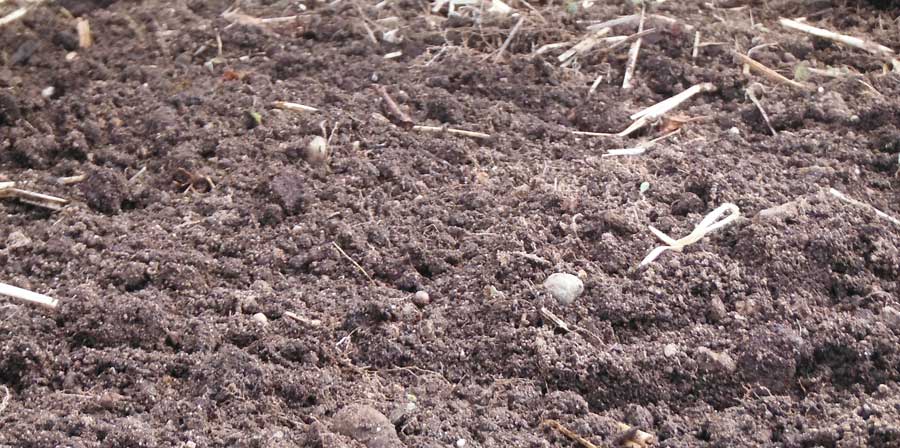
Thsi time of year, much of my garden activity is amending, monitoring and making soil.
When I turn over a new bed, removing the weeds or straw mulch or chopping down the cover crop, I decide whether it needs to be amended. What did my soil test reveal about this bed? What did I plant in it last, and how did those plants do?
- If the soil test showed the pH was low (meaning acidic, in our rainy maritime climate), I should amend it with agricultural lime.
- If my last crop of lettuce in this bed did poorly, perhaps the nitrogen level was low, which is easily fixed with chopped cover crop or an organic fertilizer.
- If my organic matter level was low (again, reading the soil test results) or I’m planning to grow a heavy-feeding crop, perhaps I should amend the soil with my home compost.A key tool for the cool-season gardener is a soil thermometer. This shows the soil in my newly worked bed is in the mid-40s, barely warm enough to sprout seeds.
Dry enough to plant?
If the soil is warm enough and dry enough, it’s ready for seeds.
Here’s an easy test to see how wet your soil is:
- Dig up a trowel-full, down to about 6 inches deep.
- Make a softball-sized ball with the soil.
- Toss that ball up in the air a few feet and let it fall on your open hand.
If the ball of soil breaks open in your hand, it’s ready to plant. If it hits with a plop and stays together with moisture oozing out, it’s still too wet.
You can also use a soil thermometer to check the temperature of the soil to determine when to plant seeds.
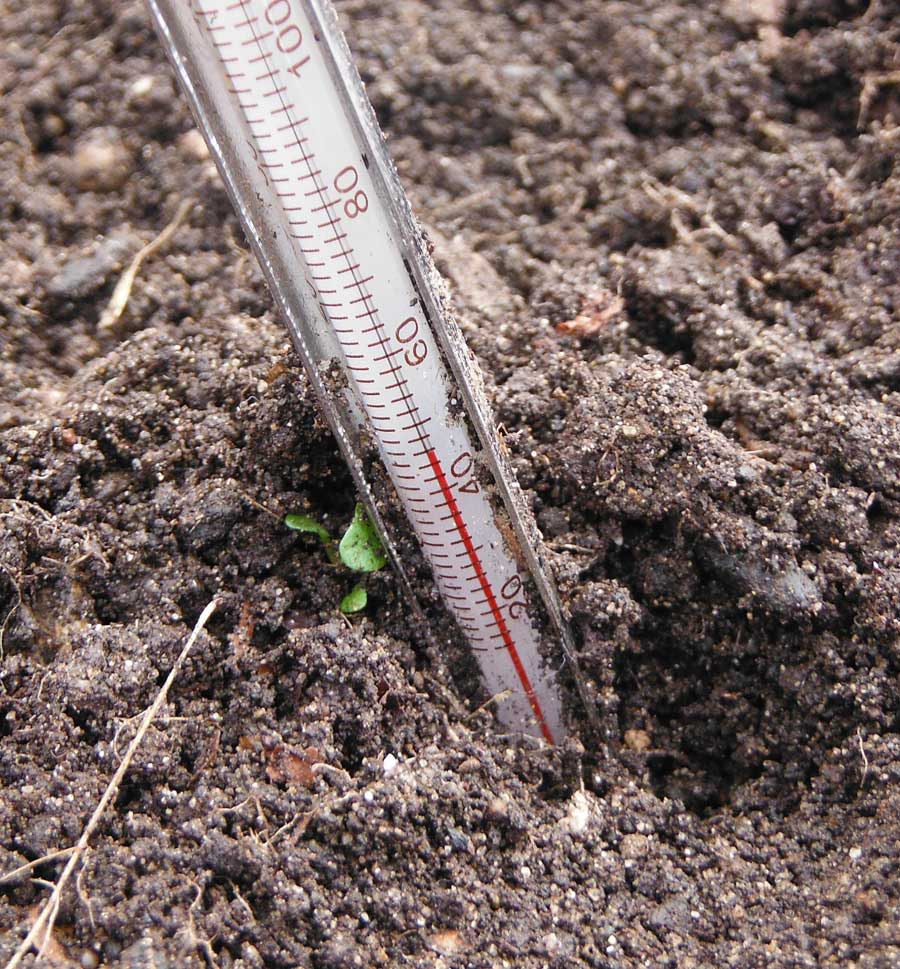
Lettuce will sprout in soil as cool as 40 degrees F. It will sprout a lot faster, though, in soil that is 50 degrees. My soil thermometer had a chart on its packaging that shows the minimum and optimum germination temperatures for many common vegetable crops.
Soil temperature is more important to a vegetable gardener than air temperature. The soil warms slowly in the spring, inching up a degree or two on every warm day. But if you have many sunny days in a row, or you garden in raised beds, you can see significant temperature rise in a week. (Charting the daily temperature changes in the soil would be a fun science experiment for a kid interested in gardening!)
Make and use your compost
I churned up the compost bin over the weekend with the first grass clippings.
To the moist, green clippings (rich in nitrogen) I added equal amounts of dry leaves, saved in bags from last fall. I mixed them together, watering well, and piled them in the bin.
Now, just three days later, they’ve heated up.
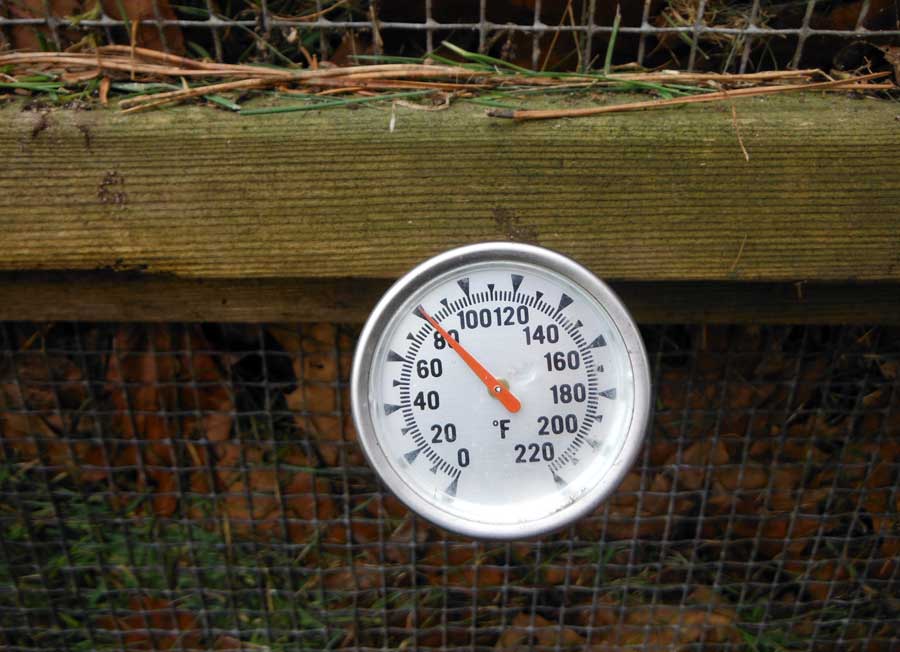
Home compost decomposes fastest when it’s in an aerobic condition, which means the soil decomposers have colonized the bin in great quantity and they’re busy breaking down the material.
Aerobic decomposition, or “hot composting,” starts at 80 degrees F., and look at what my compost thermometer shows!
When finished, my home compost will provide a valuable soil amendment that I can add to beds when planting.
It will be high in organic matter and contain a wide assortment of soil nutrients that will feed my plants, from macronutrients like N-P-K to the secondary nutrients like calcium to micronutrients like zinc.
What’s more, I’m creating that rich fertilizer for free, or at least for a very low cost of my own sweat equity, a couple of garden tools and a bit of water.

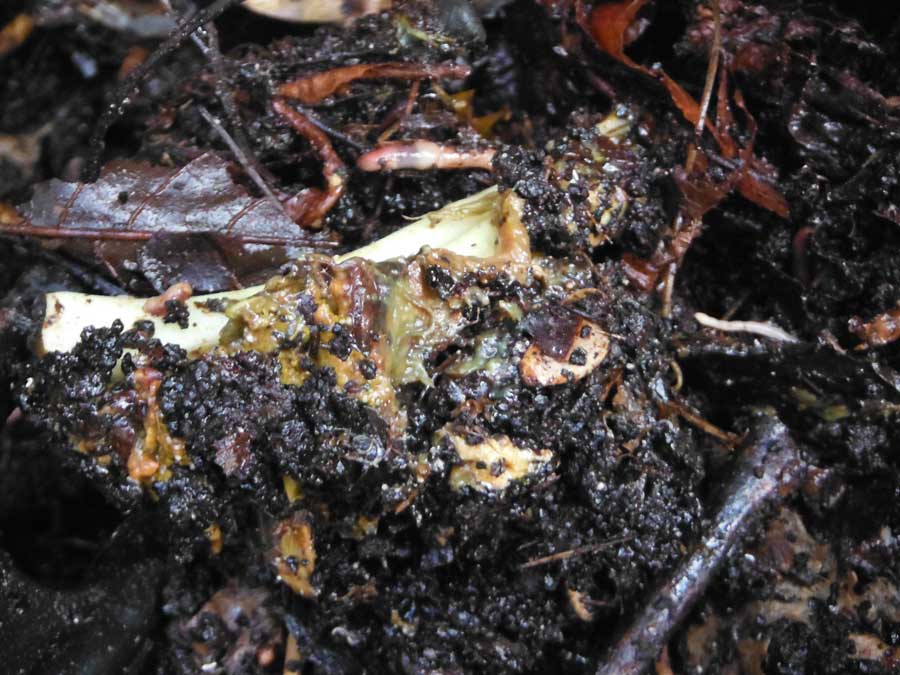
Start a worm bin
The final step in soil building is to visit my worm bin. This is a closed box that contains a colony of “red wigglers,” a type of worm that specializes in decomposing kitchen scraps.
The worms live in bedding like leaves or shredded paper, and they’re fed vegetable and fruit trimmings from my kitchen (no meat, dairy or fats). Bacteria cause those scraps to decay, and the worms eat the bacteria, pooping out a “vermicompost” that’s even richer than the stuff in the home compost bin.
It’s another nearly free form of soil amendment that helps me close the loop on my home waste stream and use less externally purchased amendments in my garden.
As I get ready to plant, my prepared garden bed will get a good dose of worm compost or home compost dug into the soil, or sprinkled into the planting hole where the transplants will go.
On this first day of spring, the best thing I can do to honor my garden is to turn my attention to the soil.